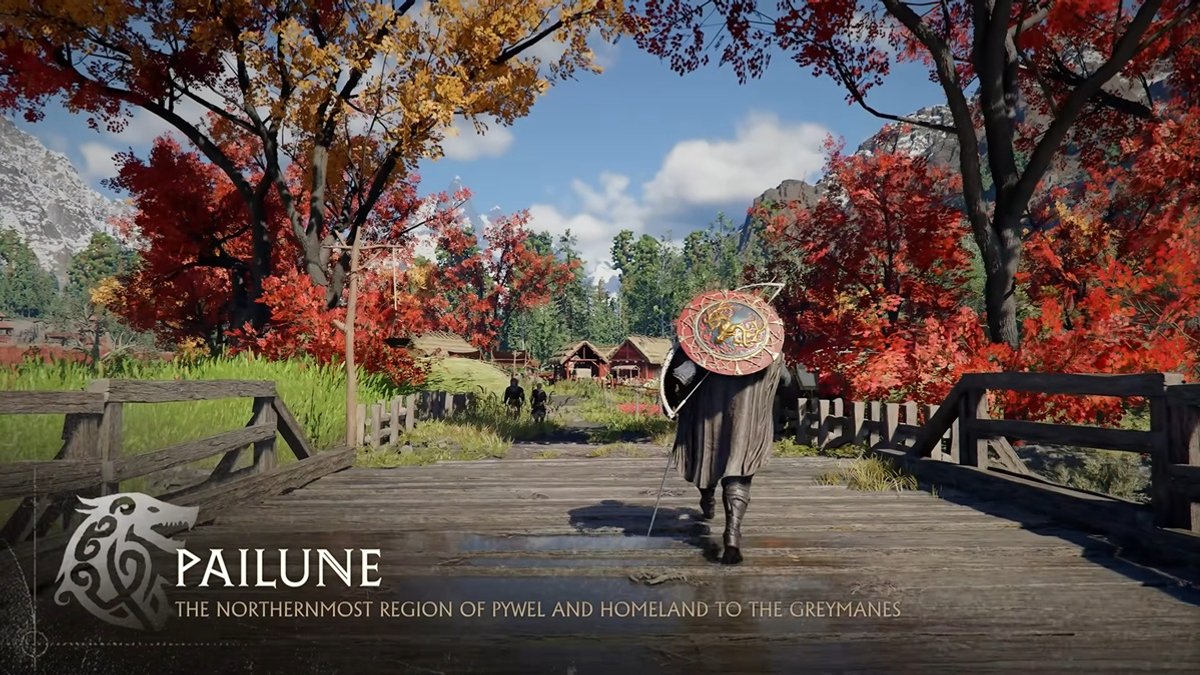
Pailune Bosses in Crimson Desert: Routes & Rematches
Find Priscus at the Spire of Ringing Truth, locate defeated bosses through Memory Fragments, and check Titan's boots unlock. Route and version limits included.
For Priscus, check the Pailune Militia objective and the Spire of Ringing Truth route below. For a first fight with another boss, follow its active story or faction objective. For a boss you have already defeated, use its Memory Fragment to find the rematch. Choose the next available objective rather than an assumed boss level.
This page covers a recorded Priscus entrance reference, the official rematch method, and Titan's boots unlock. It does not establish a complete Pailune regional boss count or a first-fight route for every name below. A faction entry and a rematch location do not necessarily define the regional boundary.
Version: official notices checked October 3, 2026, through 2.03.02, dated September 23. Its Mac App Store rollout is still marked in progress. The Priscus recording is from April 7; the route has not been retested in a 2.03.02 game session.
Pailune Boss Quick Reference
| Your target | Where to start | Evidence and limit |
|---|---|---|
| Priscus the Ancient | Open the Pailune Militia entry for Priscus; compare your objective with the Spire of Ringing Truth route below. | The April recording shows the quest panel and descent inside the tower. Full entrance prerequisites and current-build completion are not confirmed. |
| Titan, for Lightning Bolt Plate Boots | Check the Titan defeat, equipped Ring of Lightning, and Bari's shop conditions below. | Official purchase-unlock conditions; no verified arena location or ring-acquisition route here. |
| A boss already defeated | Knowledge → Memory Fragments → Bosses → Open Map, then visit its fragment. | Official rematch instructions. Use your installed game's marker because some fragments have moved. |
| Ludvig / Awakened Ludvig / One-Armed Ludvig | Track the matching story objective or named boss memory in your save. | Exact first-entry route is not confirmed here. Injured Ludvig was renamed One-Armed Ludvig in Knowledge. |
| Karanda | Check the objective shown in your own quest log. | Defeating Karanda can grant harpy Knowledge; the exact faction prerequisite and nest entrance are not confirmed here. |
How to Find a Boss or Check a Missing Unlock
For an original encounter, track the objective that actually names your target. Check its preceding story or faction requests if it is unavailable, and compare the quest name with the map's region label before traveling. There is no verified universal quest total or numerical character-level gate supplied by this checklist.
If an expected NPC interaction fails, the official Known Issues notice, revised September 21, lists intermittent interaction failures and suggests restarting. It also lists Greymane faction progression issues as Damiane or Oongka. Check whether the issue applies to your build; it does not mean every Pailune boss requires Kliff.
Boss already defeated: find its rematch
- Open Knowledge → Memory Fragments → Bosses.
- Select the boss and choose Open Map.
- Visit the marked fragment, raise the lantern, and read it.
Pearl Abyss documents these steps in 1.05.00. Later updates relocated some fragments, so use the current map marker.
First-clear rewards and rematch practice
The published Rematch rules restore used consumables and give no separate loot. Use the original encounter for its quest rewards; do not plan a rematch loot farm. Rematches support Kliff, Oongka, and Damiane. Reminisce uses the original stats, while Resonate can scale upward with player progression. These are the rules introduced in 1.05.00, rather than a new 2.03.02 loot test; check the description in your installed game.
Can You Enter Pailune Before Chapter 7?
The official 1.03.00 notes refer to Pailune's liberation in Chapter 7. They do not establish that the whole region is inaccessible earlier. Follow the prerequisite for your specific objective; visiting the region, liberation, and unlocking a boss are separate checks.
Prepare for Your Available Encounter
Use the effects listed on your equipment and food, keep a healing option ready, and learn the attack sequence before committing to long combos. Compare attempts with the same equipment, difficulty, and rematch mode. These are general preparation suggestions; this page does not supply tested boss-specific weaknesses or mandatory equipment tiers.
Before leaving for the selected objective, use the inventory checks for your next outing to keep your chosen supplies ready and put away reserves.
If you want to change the selected character's skills before another attempt, follow the Faded Artifact skill-reset workflow and review its confirmation before spending the item.
Story Boss Checks
| Name in your quest or Knowledge entry | What to check |
|---|---|
| Ludvig / Awakened Ludvig | Match the form shown by the active objective; first-fight entrance and rewards are not verified here. |
| One-Armed Ludvig | Search the current Knowledge name. 1.13.00 renamed Injured Ludvig to One-Armed Ludvig; do not count the renamed entry twice. |
| Black Bear Captain / Lava Myurdin | First-entry route and regional classification remain unverified here. The official name Myurdin, the Avatar of Umbra alone does not establish its relationship to an entry called Lava Myurdin. |
Optional Bosses — Routes and Equipment Goals
Priscus the Ancient — Spire of Ringing Truth
The Gamerpillar recording, published April 7, provides a visible older-build reference:
- At 0:10, check the quest panel: Priscus the Ancient appears under Pailune Militia, with the objective Defeat Priscus the Ancient.
- At 0:30, compare the tower interior: the gameplay shows Spire of Ringing Truth and a route descending inside the tower. The same objective and area are visible again around 2:48.
Use those landmarks to compare your own tracked quest and approach. The inspected portions show the quest and downward path; they do not confirm the complete entry mechanism, every prerequisite, a successful kill, or unchanged access in 2.03.02.
Priscus and Titan: our Priscus guide retains the legacy /how-to-beat-titan URL, but its title and body describe Priscus. That URL does not establish a game alias. Official notices name Titan for the boots unlock and rematch fixes; the materials reviewed here do not identify Priscus as Titan's alias or explain a relationship between them. Check the actual encounter name and do not transfer Titan's equipment conditions to Priscus.
Titan — Lightning Bolt Plate Boots
For this equipment goal:
- Defeat Titan.
- Equip the Ring of Lightning.
- Purchase Lightning Bolt Plate Boots from Bari's shop.
These are the official 1.05.00 unlock conditions. The notice does not specify Titan's arena, the ring's source, or the price. The boots are a shop unlock, not a promised rematch drop. See the boots unlock section for this equipment objective.
Karanda
Use the quest shown in your save to find the encounter. The Queen of the Skies recording reference is available for comparison, but its footage was not inspected in this review; it is not confirmation of the entrance or current unlock chain. One supported completion benefit is harpy Knowledge, documented in 1.16.00.
Other Names to Check
The first-fight locations, unlock chains, rewards, and Pailune classification of these entries have not been established by this review. Match the name in your own save before adding it to a regional completion total.
| Names to match in your save | Route status |
|---|---|
| White Horn; Ator, Archon of Antumbra; The Forgotten General | First-encounter route not verified here |
| Mudwalker Lutemir; Tarandus the Ashen; Moren, the Mistwood Huntmaster | First-encounter route not verified here |
| Bradie Gu; Mountain God Boar; One-Eyed Jackal Captain | First-encounter route not verified here |
Faction Bosses — Check the Active Quest
For White Bearclaw, White Bear of the High Mountains, or Saigord, check the exact quest and map label in your save. Their routes, individual prerequisites, and regional-counter membership have not been verified here. Do not assume that one militia completion total unlocks every name on this page.
Recommended Boss Order
- Continue the story: fight the boss attached to your next available main objective.
- Clear faction requests: take an available request and confirm the encounter it names before traveling.
- Find Priscus: if its Pailune Militia objective is active, compare the Spire route above with your game.
- Unlock lightning boots: pursue Titan when you want this equipment, then check the ring-and-shop conditions.
- Practice: revisit a defeated boss through its Memory Fragment and choose the appropriate mode.
There is no verified fixed sequence of eighteen Pailune fights here. If you are filling a regional counter, identify the missing named entry first; this checklist is not proof of a 13/13 or 18/18 total.
FAQ — Pailune Bosses
How many bosses are in Pailune?
A complete current-version regional count has not been verified here. Story encounters, faction entries, and relocated rematches should not be assumed to share one regional roster.
What level do I need for Pailune bosses?
No numerical character-level gate is verified here. Check the actual quest prerequisite, equipment effects, difficulty, and fight mode.
What is the hardest Pailune boss?
This guide does not rank bosses from comparable current-build test runs. Equipment, difficulty, and scaled rematch mode affect the comparison.
Can I repeat a fight with another character?
The rematch character choices are described above. They do not establish which character is available for an original story encounter.
Pailune or Pauline — which is the correct spelling?
Pailune is the spelling used in the official notices and the recorded quest panel. Use it when matching the region or faction to your game.
Do I need to beat every Pailune boss for an achievement?
A single achievement requiring every name in this checklist has not been verified. Check your game's or platform's exact achievement text rather than assuming it matches a faction quest or regional counter.
Change Record
October 3, 2026: revised the scope from a claimed complete roster to supported routes and unlock checks; added the observed Priscus quest/tower reference, official Memory Fragment method, first-clear versus rematch distinction, and Titan shop conditions; corrected unsupported level, prerequisite, strategy, and reward claims. The original May 10 publication date is retained.
Related Guides
- Pailune Region Guide
- Lightning Bolt Plate Boots: Titan, Ring & Bari
- Priscus the Ancient — article at the legacy Titan URL
- Combat Guide — Parry, Dodge, and Counter
Sources
- Gamerpillar — Priscus route recording, April 7, 2026: inspected quest panel and tower descent; current-build completion not tested.
- Pearl Abyss — 2.03.02, September 23, 2026: version and platform rollout status.
- Pearl Abyss — 1.03.00: Chapter 7 liberation reference.
- Pearl Abyss — 1.05.00: rematch procedure/rules and Titan boots purchase conditions.
- Pearl Abyss — 1.06.00: official Myurdin name and Titan rematch fixes.
- Pearl Abyss — 1.13.00: Ludvig Knowledge rename and relocated rematch fragments.
- Pearl Abyss — 1.16.00: Karanda Knowledge benefit.
- Pearl Abyss — Known Issues, September 21 revision: interaction and Greymane faction progression issues.
- WoW Quests — Karanda quest recording, March 29, 2026: playback reference only; footage not inspected here.
Author

An editorial pen name used for gameplay walkthroughs tested or researched by the Crimson Desert HQ team; it is not the in-game character or a Pearl Abyss representative.
Editorial standards
We prioritize official sources, reproducible game evidence, and clearly labeled community reports. Found an error or missing attribution?
Read our editorial policyCategories
Table of Contents
More Guides
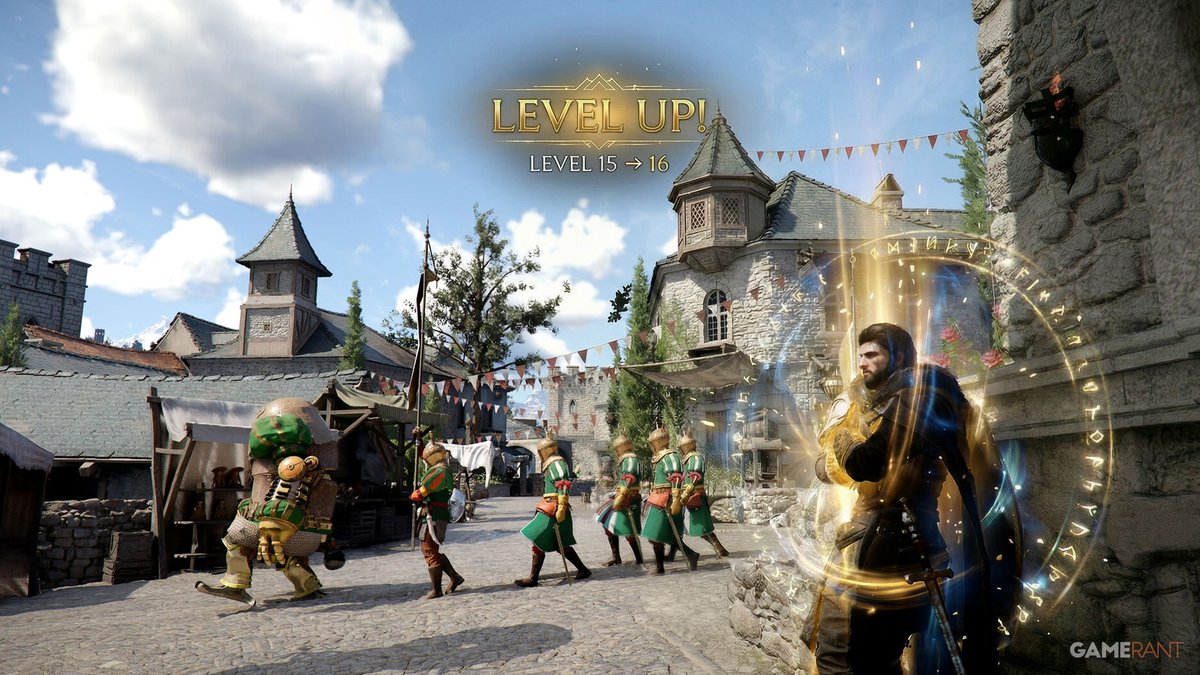
Crimson Desert Abyss Artifacts: Faded Uses & Skill Reset
Use Faded Abyss Artifacts in Skills, claim Sealed challenge rewards, and check the character-specific reset rules introduced in patch 2.00.00.

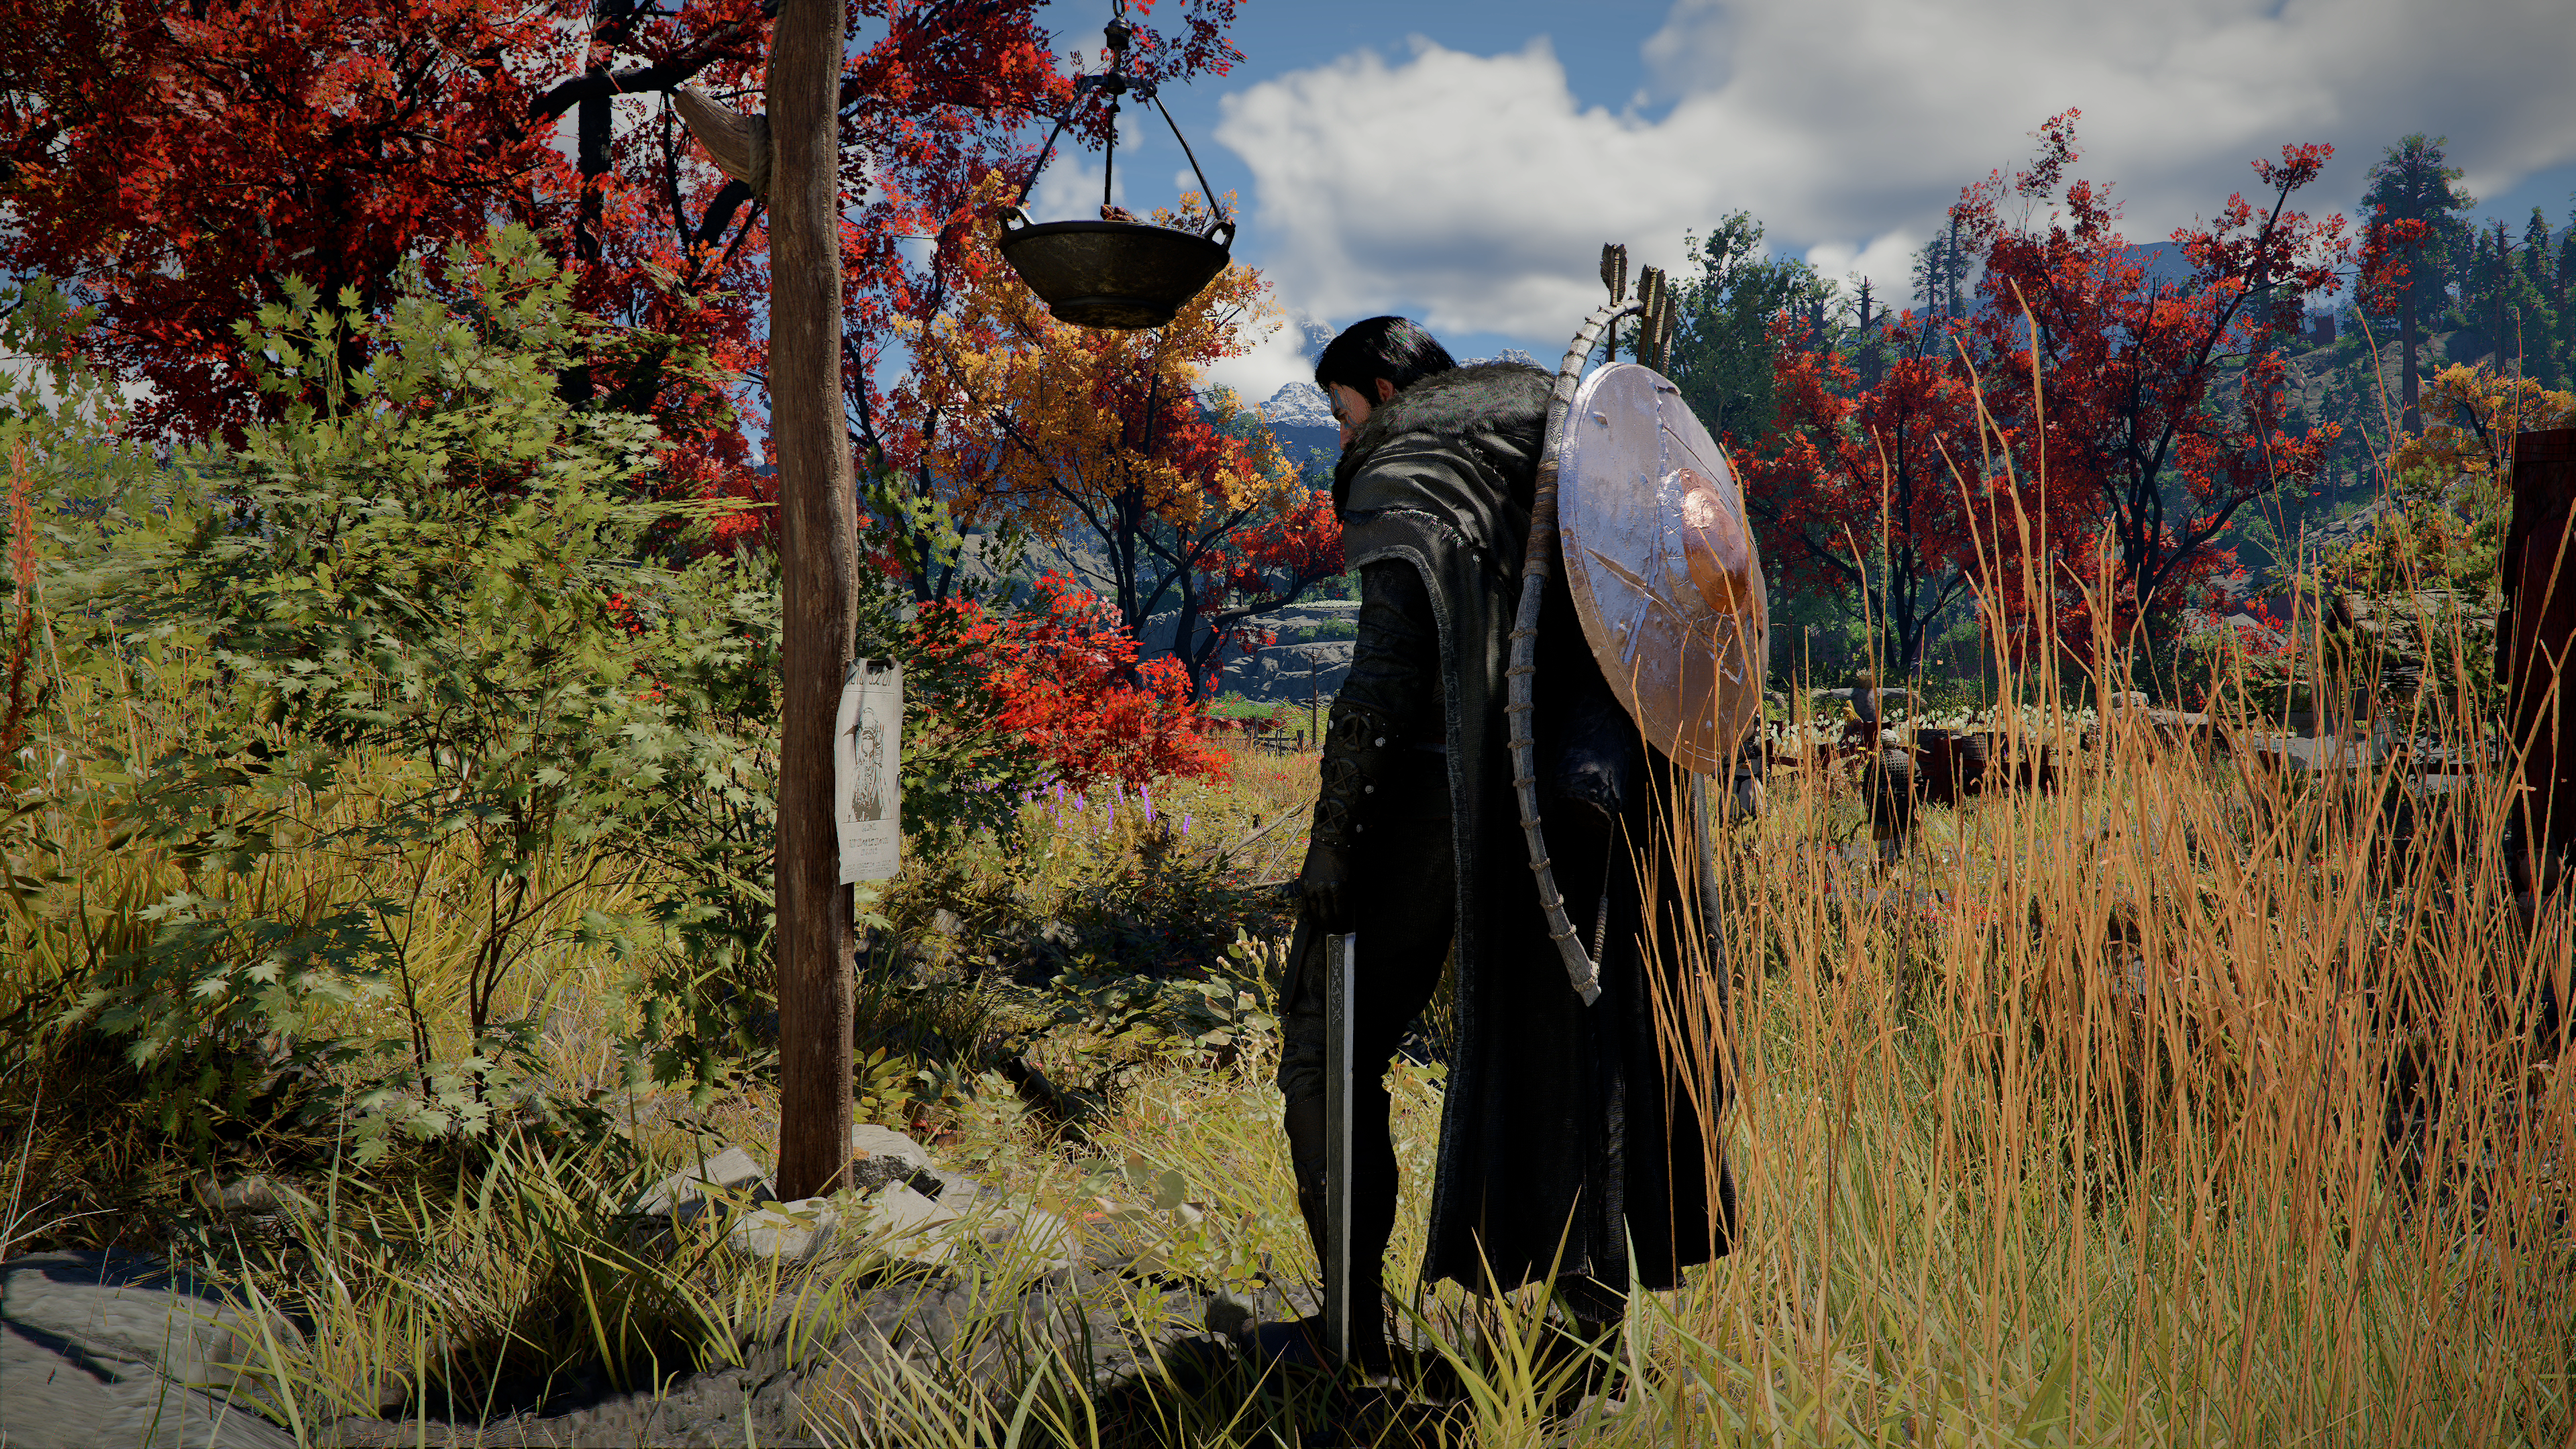
Crimson Desert Inventory: 240-Slot Cap & Storage
Increase inventory with expansion items, distinguish the 240-slot bag cap from 1,000-slot Private Storage, and find the right chest before selling loot.
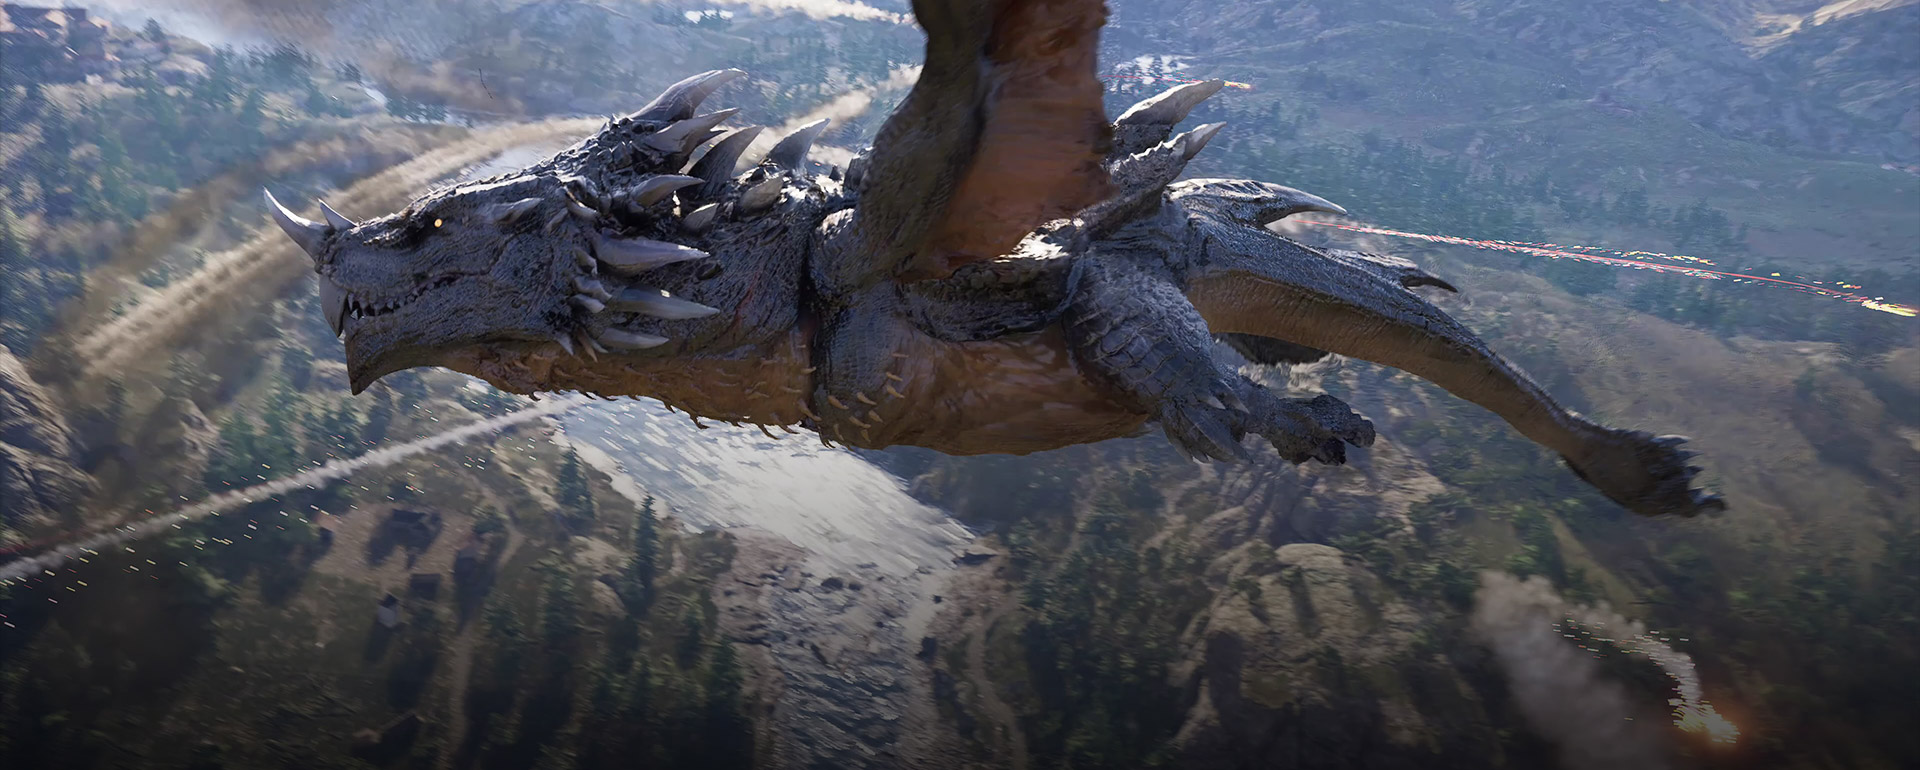
Hernand Region Exploration Guide: What to Do Next
Choose your next Hernand route by story progress: town and bell, available commissions, Howling Hill, Scholastone, and optional quest detours.
Newsletter
Join the community
Subscribe to our newsletter for the latest news and updates